The Google Workspace Data Export allows users to export their complete organization’s data from various Google Workspace applications to a Google Cloud Storage archive and download it. This feature enables users to download a copy of their data in a standard format that can be imported into another system or stored offline for backup purposes.
Depending on the size of your organization, this export can be rather big and also include a vast amount of folders respectively ZIP archives.
To keep the download process of the Google Cloud Storage archive as smooth and simple as possible, we recommend using the”gcloud CLI”. Googles command-line tool allows users to interact with objects in Google Cloud Storage buckets such as creating and deleting buckets, uploading and downloading objects, setting access control lists and permissions, and copying and moving objects between buckets.
Preparations
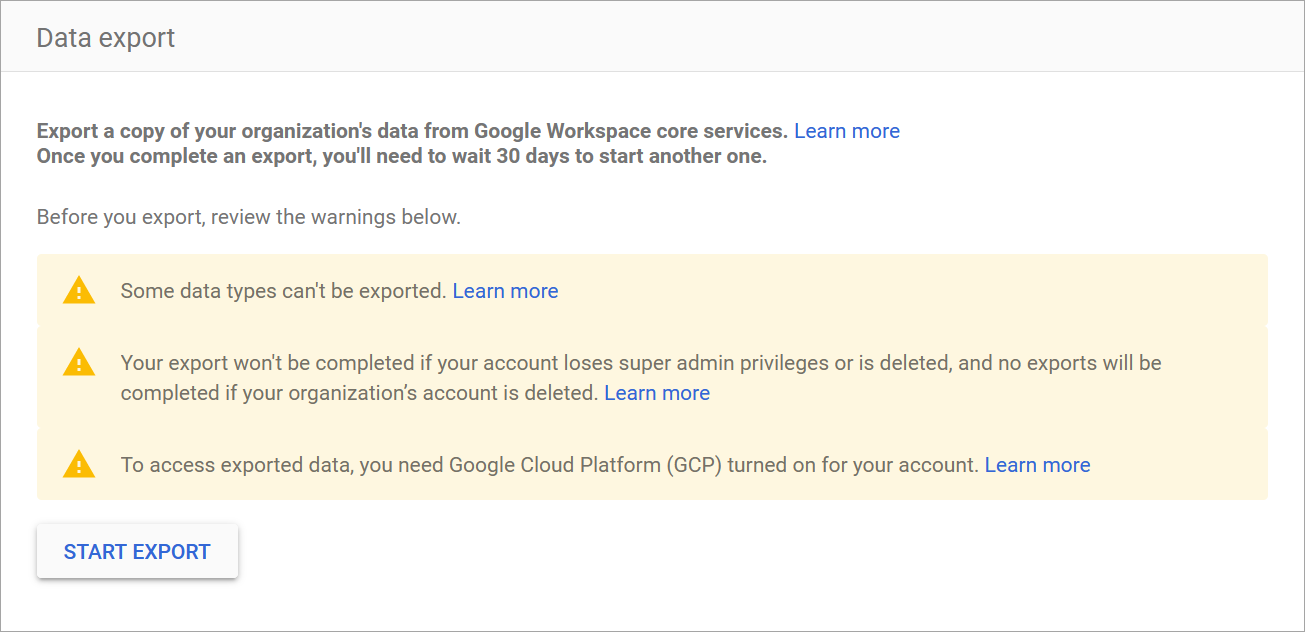
1) To create a Google Workspace Data Export, open the “Customer Takeout” link and click on “Start export“.

2) After a few days you should receive an email saying “Data export for Your Organization complete” and it can be accessed by clicking on “Access archive“.

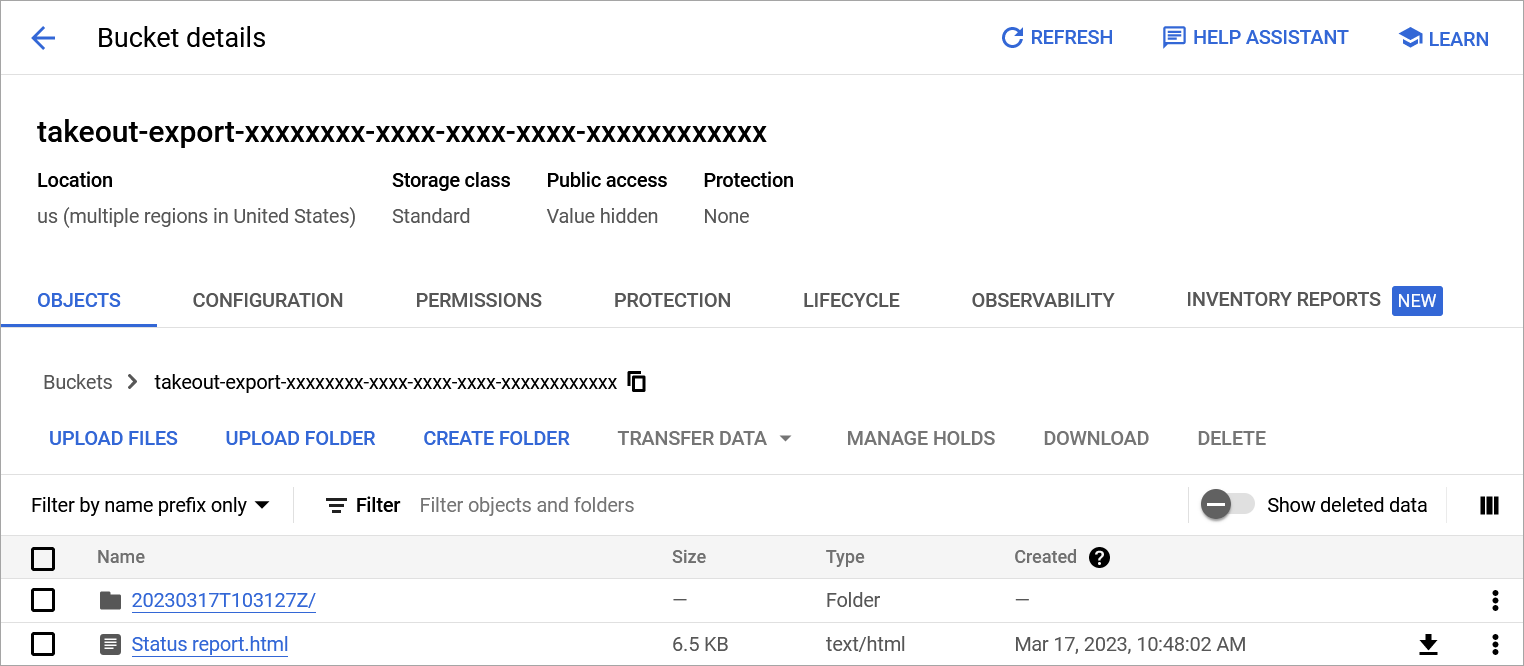
3) The created archive will be available as a Cloud Storage bucket and will have a unique name, which is also used for the URL to access/download it:
takeout-export-xxxxxxxx-xxxx-xxxx-xxxx-xxxxxxxxxxxx

4) To install the gcloud CLI, just follow the official guide from Google. It doesn’t matter whether for Linux, macOS or Windows. Small hint, if you want to keep things simple, use Linux or macOS.
gsutil / gcloud
As mentioned before, Linux or macOS will perform the download smooth and without any hiccups. This is due to the naming convention of the root folder for each Google shared drives backup. These folders start with “Resource:“. As the : (colon) is a reserved character under Windows, you will see an error message [WinError 267] The directory name is invalid, and the affected directory will be skipped from downloading. On Linux, the folder name will remain the same “Resource:“, while on macOS it will be changed to “Resource/“.

Downland commands
Since October 2022 Google offers gcloud storage as an improvement over the existing gsutil option and promises faster data transfer.
This leaves us with several options how to perform the download of a Google Cloud Storage bucket.
Serial download
This command is using gsutil in combination with the cp command to copy the objects recursively -r, including any subdirectories.
gsutil cp -r gs://takeout-export-xxxxxxxx-xxxx-xxxx-xxxx-xxxxxxxxxxxx/ /Users/Test/Downloads/GoogleBackupAnother option would be to use rsync instead of cp.
gsutil rsync -r gs://takeout-export-xxxxxxxx-xxxx-xxxx-xxxx-xxxxxxxxxxxx/ /Users/Test/Downloads/GoogleBackupParallel download
Adding the -m flag indicates that the download should be performed in parallel, which will speed up the transfer noticeable for cp as well as for rsync. A quick test with a 1 Gigabit fiber connection showed a significant increase in average download speed from 30 MB/s to 111 MB/s.
gsutil -m cp -r gs://takeout-export-xxxxxxxx-xxxx-xxxx-xxxx-xxxxxxxxxxxx/ /Users/Test/Downloads/GoogleBackupgsutil -m rsync -r gs://takeout-export-xxxxxxxx-xxxx-xxxx-xxxx-xxxxxxxxxxxx/ /Users/Test/Downloads/GoogleBackupAs mentioned above, since October 2022, another newer option would be gcloud.
gcloud storage cp --recursive gs://takeout-export-xxxxxxxx-xxxx-xxxx-xxxx-xxxxxxxxxxxx/ /Users/Test/Downloads/GoogleBackupWindows adjustment
As already touched on before, Windows systems will throw an error message when downloading shared drive folders because of the naming convention, Resource:
A solution to suppress the error message is to exclude the mentioned folders from being downloaded. This can be done by adding the exclusion flag -x in combination with a simple regular expression which searches for these folders '.\/Resource:.\/.*'.
gsutil -m rsync -r -x '.\/Resource:.\/.*' gs://takeout-export-xxxxxxxx-xxxx-xxxx-xxxx-xxxxxxxxxxxx/ /home/user/Downloads/GoogleBackup
Be First to Comment